


While this is not my first blog post, it is the first since I joined Stampin’ Up. I am excited to be back in the world of paper crafting. This is something I do to relax and unwind. I also get to document my family history and make some really cute gift and ‘thinking of you’ items for friends.
I am participating in my first SU Demonstrator Swap next weekend. This is not my usual color palette but I was lucky enough to use inks borrowed from Elizabeth.
I won’t show my cards yet but I will share photos of the work in progress and some of the materials and supplies used. Here goes:
- Ink
- Sweet Sugarplum (http://www.stampinup.com/ECWeb/ProductDetails.aspx?productID=141395)
- Wisteria Wonder (http://www.stampinup.com/ECWeb/ProductDetails.aspx?productID=126985)
- Perfect Plum (http://www.stampinup.com/ECWeb/ProductDetails.aspx?”productID=126963)
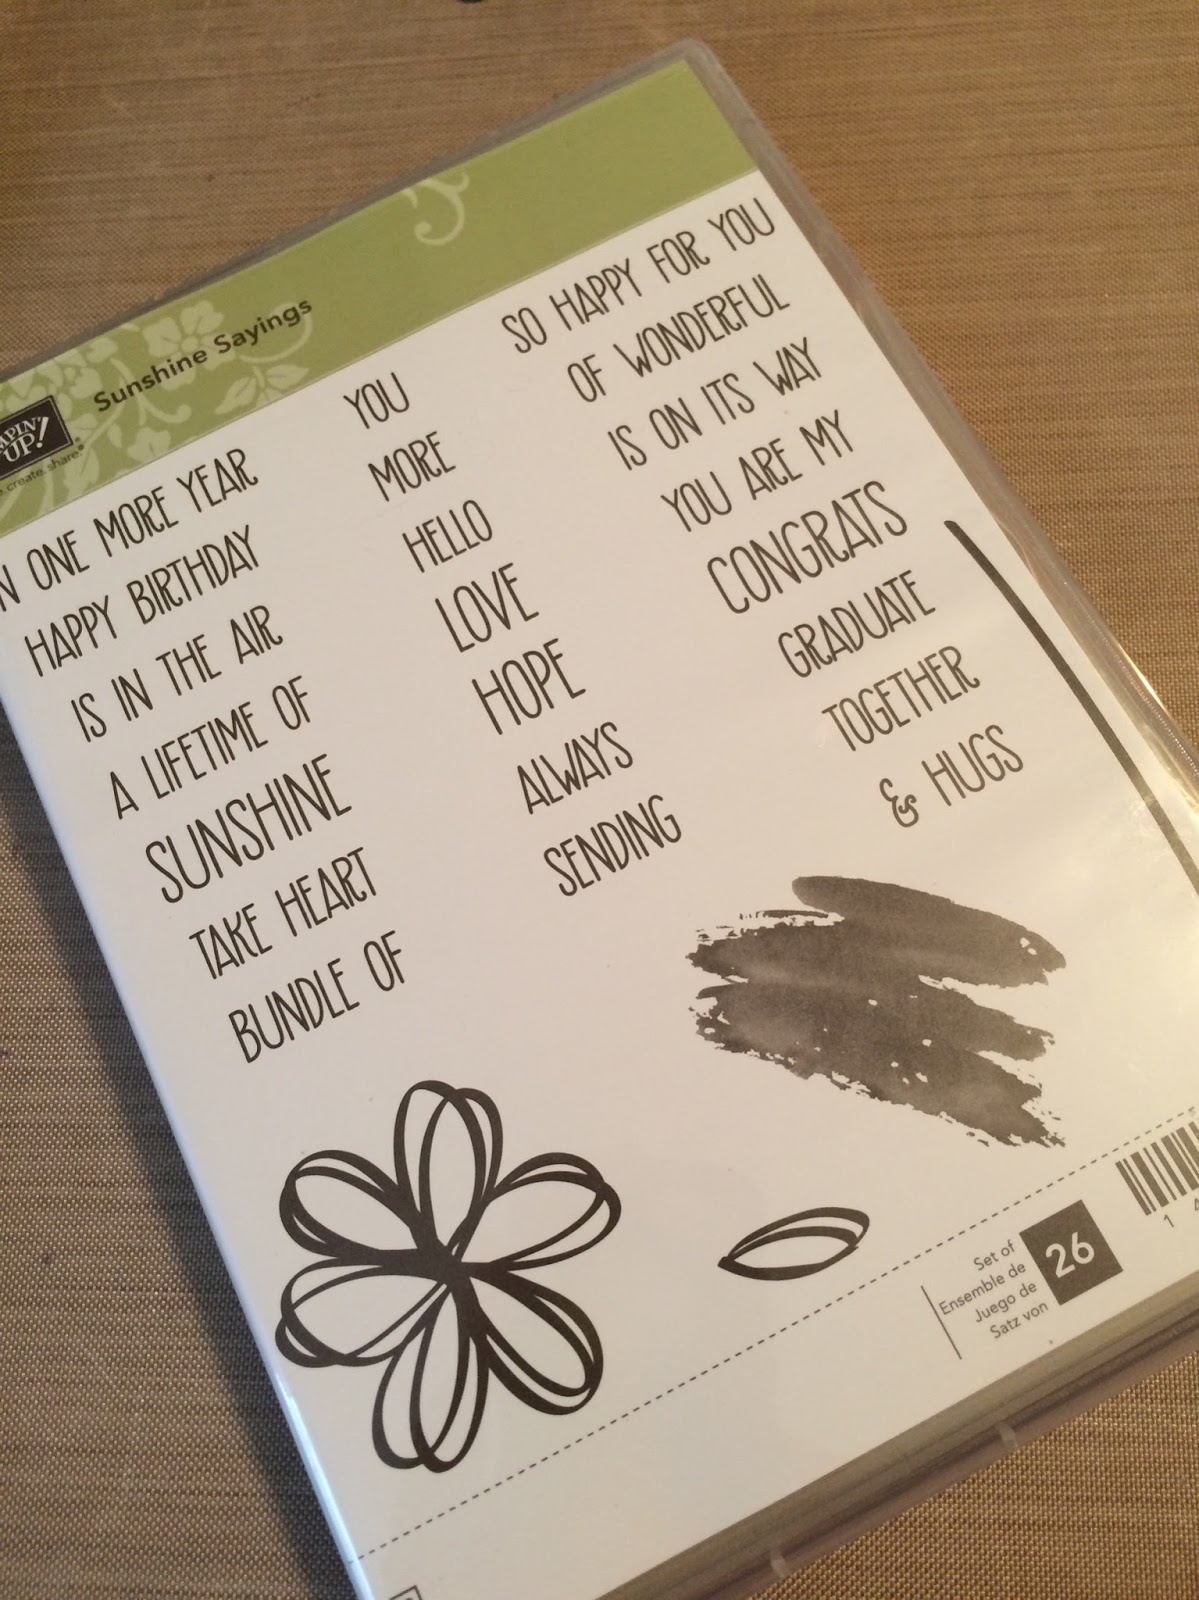
- Sunshine Sayings (http://www.stampinup.com/ECWeb/ProductDetails.aspx?productID=141594)
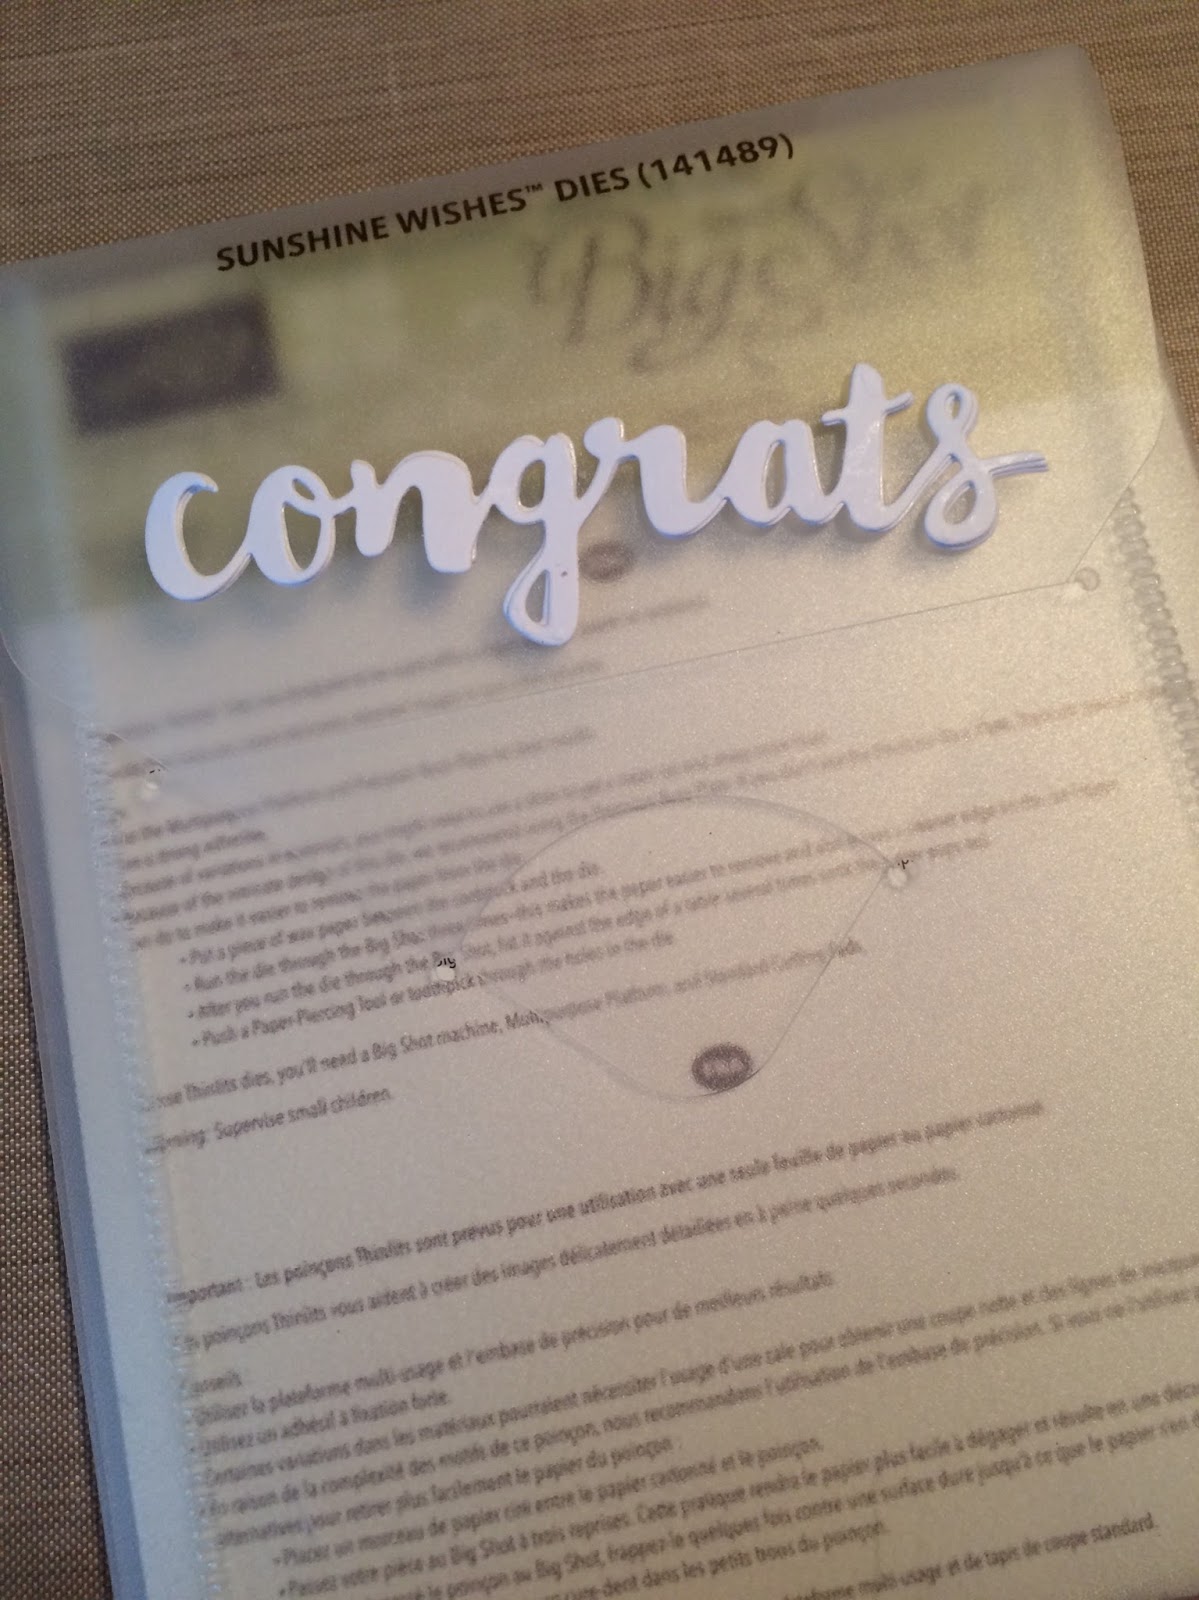
- Sunshine Wishes Dies (http://www.stampinup.com/ECWeb/ProductDetails.aspx?productID=141489)
- Whisper White and Black Cardstock
- Mini Ink Blending Tool
- water brush
- small spray bottle of water
- craft mat
- Dimensional Adhesive (http://www.stampinup.com/ECWeb/ProductDetails.aspx?productID=104430)
- Fine Tip Glue Pen (http://www.stampinup.com/ECWeb/ProductDetails.aspx?productID=138309)
- Memento Tuxedo Black Ink (http://www.stampinup.com/ECWeb/ProductDetails.aspx?productID=132708)
Background
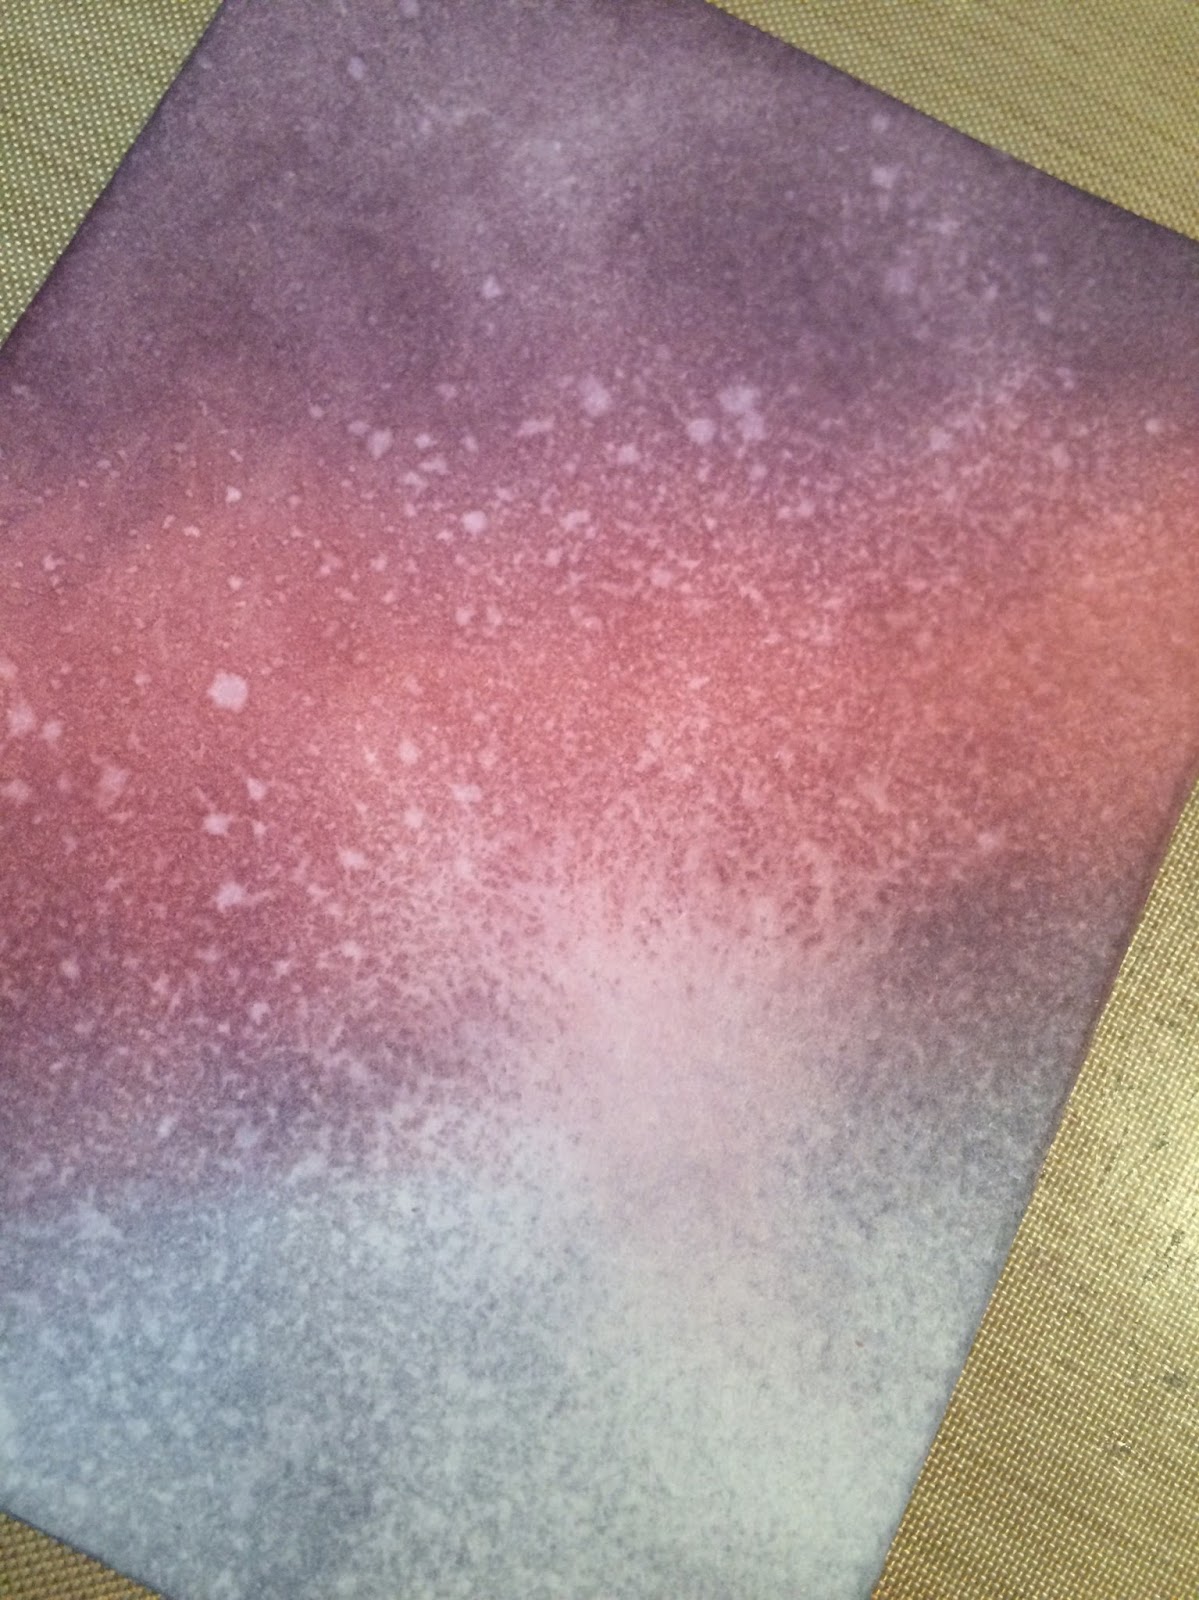 Cut pieces of Whisper White Cardstock into rectangles measuring 4″ X 5.25″. This is one-fourth of an 8.5 X 11 sheet of cardstock trimmed by 1/4 inch on both the long and short sides. I created the background by applying the three inks (lightest to darkest) using the mini ink blending tool. With the tool, blend the inks together at the borders to allow for a seamless transition. In this sample, I started in the lower right corner with Wisteria Wonder, used Sweet Sugarplum in the center and Perfect Plum in the upper left corner. After making the initial application, take the applicators and blend the colors along the transition area.
 Next, spritz water from the small spray bottle. Allow the ink to lift slightly. Blot with a paper towel to remove the ink. If desired, remove the pump from the bottle and use the end to flock water drops onto the paper and blot again. Your paper should look like the photo to the left.
Card Front Elements
While the background papers are drying, let’s work on the paper used to make the die cuts on the card. Again, since I have not stocked my supply closet yet with SU products, I am using alternate methods to create colored paper. To that end, mist a sheet of Whisper White cardstock. Blot the Wisteria Wonder onto the craft mat. Spritz it with water to create a watercolor type liquid. Using the water brush, apply the Wisteria Wonder ink to the dampened card stock to create a very lightly colored cardstock.
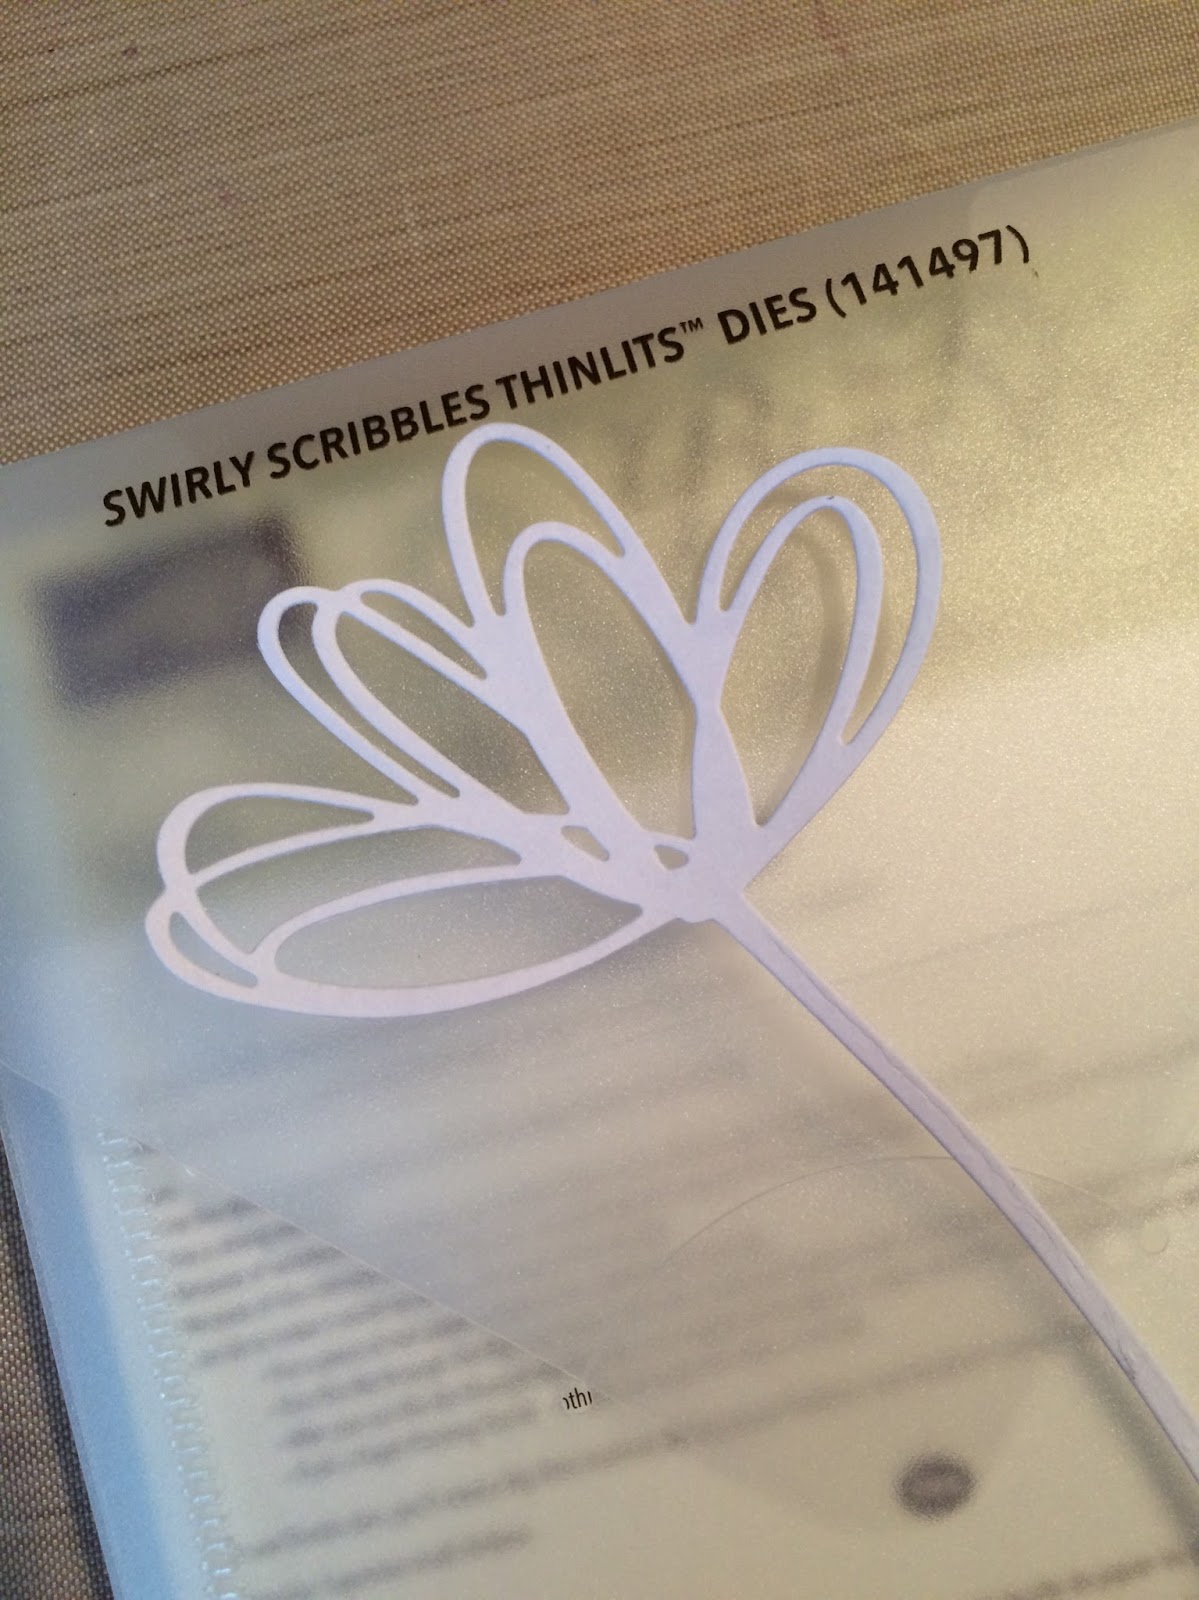
After this dries, cut each piece into something small enough to fit through the Big Shot (or Cuttlebug). I cut my sheets in half to make them easier to use. Using the Thinlits, cut one flower and four ‘congrats’. I cut one of the colored cardstock and three of white cardstock.
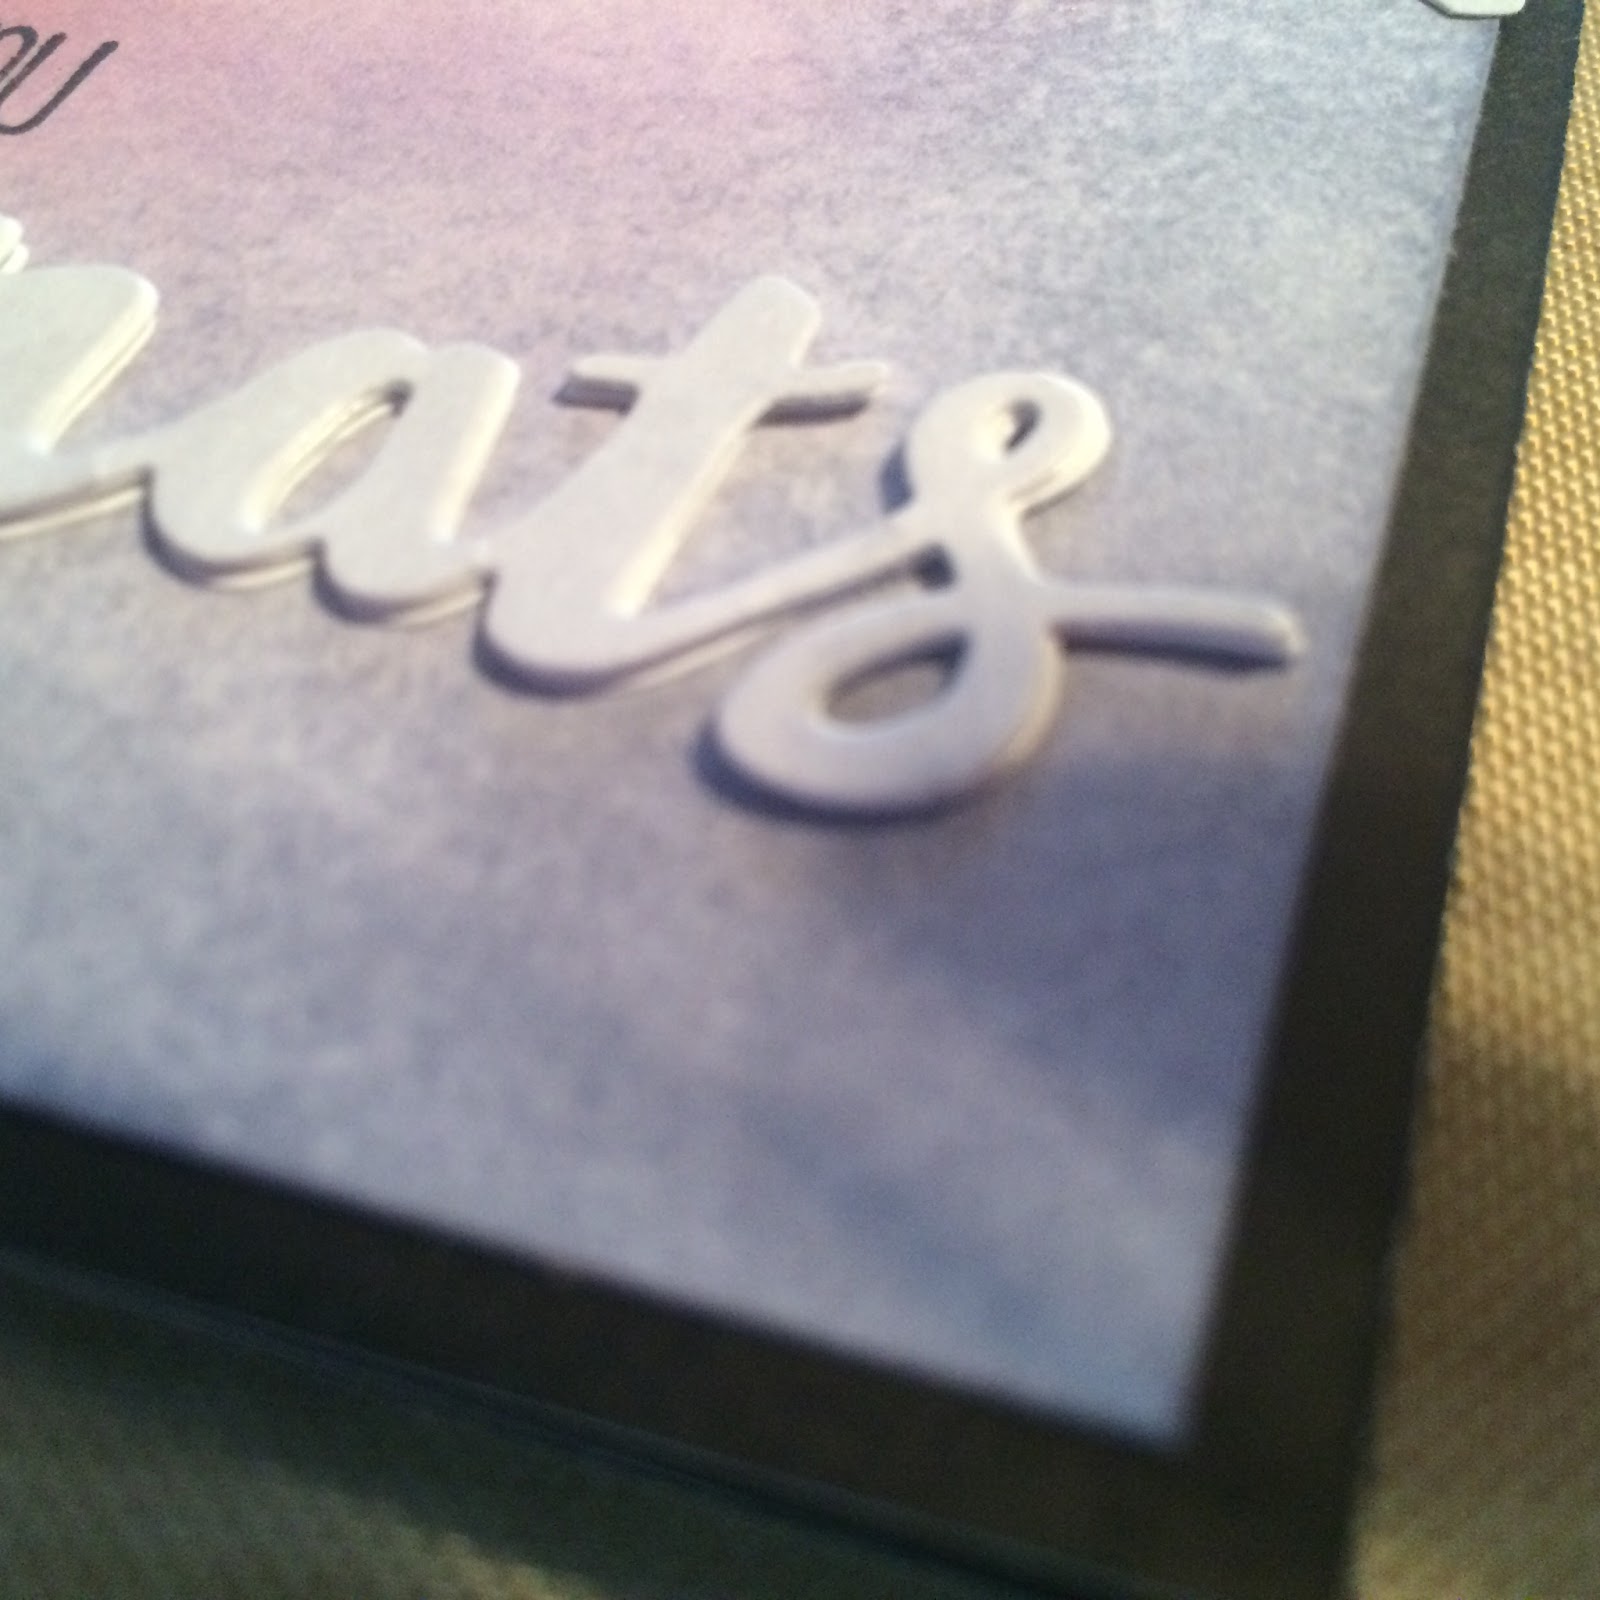
By now, your card background should be dry. It’s time to assemble your card front. Using the Fine Tip Glue Pen apply glue to the back of the flower and place it to the top of the card front at a slight angle. Meanwhile, using the fine tip glue pin again, glue the white ‘congrats’ in a stack and then attach the colored one on the top of the stack (to mimic a chipboard element). That is placed at the bottom of the card and will look like this.
Stamping

This card is amazing so far! Can't wait to see the finished product.
LikeLike